

How to Make a Chic Serving Tray from a Single Tile (in 4 Easy Steps!)

Y’all, you are not going to believe how easy it is to turn one simple tile into the cutest serving tray for your next dinner party, girls’ night, or just… snacks on the couch (no judgment here!). This beginner-friendly DIY takes less than 30 minutes and looks like something straight out of a boutique.
Here’s how to make your own with just a few supplies (all circled and linked below) and a whole lot of charm:
Step 1: Add a Little Glam to the Edges
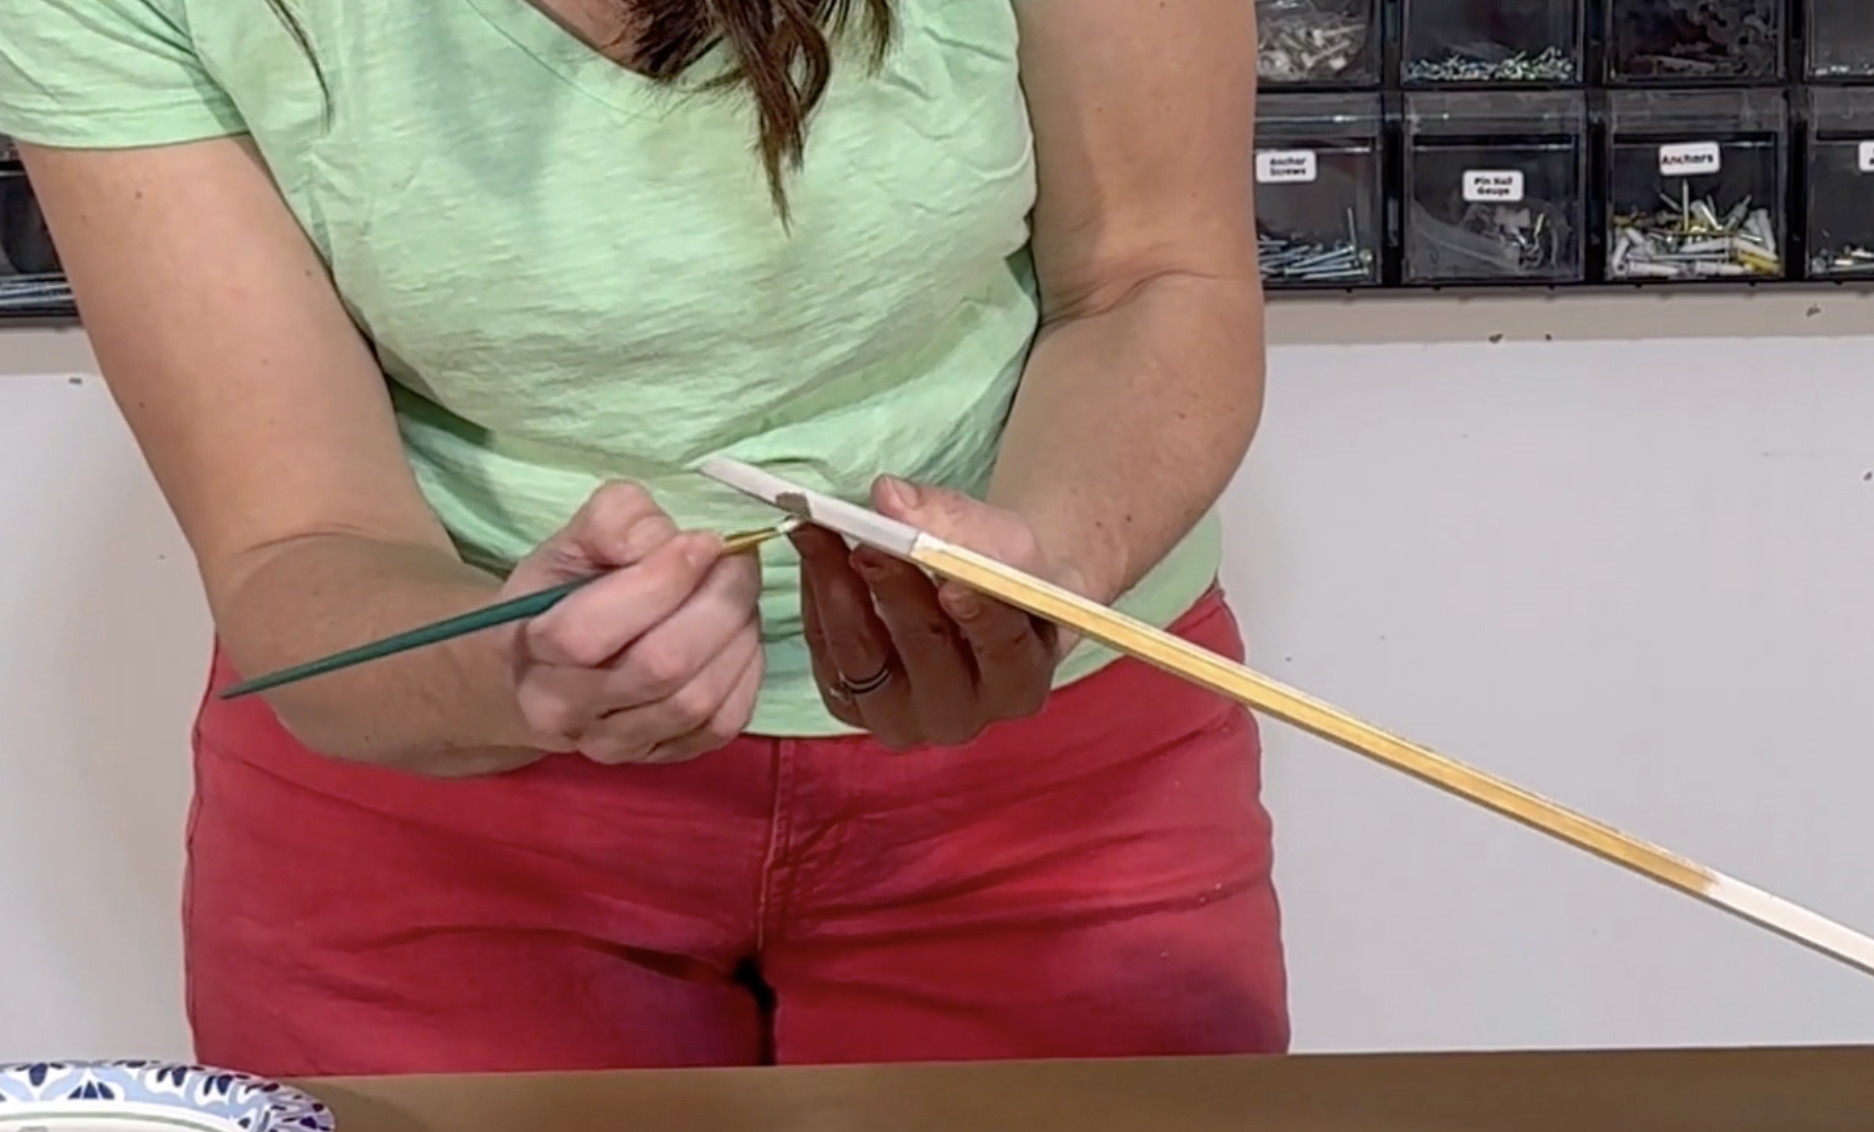
Tiles often come with rough or unfinished sides—but we’re not about to let that ruin the vibe. Just grab a small paintbrush and a little bit of Rub ‘n Buff (I used the gold leaf color because… ✨ fancy ✨).
Brush it gently along the outer edge of the tile. Got a little messy? No worries—baby wipes and your fingernail are perfect for cleaning up any extra smudges.
Step 2: Protect Your Surfaces

Next, flip that tile over and stick self-adhesive bumpers in each corner. These little guys are magic for keeping your tray from sliding around or scratching your table.
You can find them at most home improvement stores!
Step 3: Attach the Handles
Now for the part that makes this look like a real tray: the handles! Start by measuring your tile and your handles. Mine were 8" wide with handle holes spaced 5" apart. That meant I placed each sharpie mark (where the screw WOULD go) about 1.5" in from the edge.

These handles are SUPER CUTE as well.
Use a Sharpie (or something that actually shows up on tile) to mark your dots. Then use a strong ceramic-and-metal-friendly super glue to attach the handles directly to the tile.

Let it dry fully before using!
Know that you can also instal the handles with screws as well (to make it VERY permanent). Just be sure to go slow when drilling the holes for the handles and USE THE RIGHT DRILL BIT (found here).
Step 4: Style and Serve

Once your glue is dry, that’s it—you’re DONE. You now have a stylish, modern serving tray that cost just a few dollars to make. Whether you’re using it for cheese, desserts, or just as a pretty accent piece on your coffee table, it’s a total win.
If you are planning on placing food (like this Charcuterie Tasting Board)directly on the tile often, you may want to use a sealant to seal the tile to prevent staining - otherwise, have fun styling!
Want More Simple DIYs Like This?
This project is just one of many step-by-step BONUS tutorials I share inside the Home Glow-Up Crew, my monthly DIY membership. Each month, we tackle a new larger project together—with a video, PDF instructions, and lots of encouragement so you can feel confident taking action in your home. Doors will be closing soon for this round - so, if you’re wanting to join, go ahead and lock in your membership at the current pricing before the doors reopen later this year at a higher price point.