

From Boring to Beautiful: Our Front Porch Glow-Up
Friendly FYI: I bought all the materials mentioned in this post with my own money—including the thin brick and the Samplize samples. I have partnered with Samplize in the past on sponsored projects. As always, all opinions are my own, and I only share products I truly love and use in my own home. 💛
Backstory:


When we moved in four years ago, our curb appeal was… non-existent. The sweet old lady who lived here wasn't able to keep up with the work so the house had fallen into disrepair. We ripped out the overgrown shrubbery immediately and then worked in plenty of inside projects for the next two years!
In 2023, we decided to finally paint the exterior (it’s the original cedar siding from the 1980s!) and I knew I wanted a creamy white but it’s so hard to tell colors/hues from filtered Pinterest photos! I decided to order the White Creams bundle from Samplize to see the true colors in real life! They arrived the next day, and I stuck them to my siding (move around to different walls so you can see the colors in different sunlight!) and immediately picked Shoji White from Sherwin Williams.


We sprayed the house and trim the same color and sheen (Satin). And wow, the house looked so much better!


Fast forward another 2 years and it was time to show our dated entryway even more love! Here’s that process! ⬇️
Step 1: Ripping Out the Old Step
The existing wooden step was small and also kinda sagging. So we ripped it out, and honestly, it came out way too easily so I was happy we were replacing it with something sturdier!


Step 2: Building a Larger Step
We built a new frame using pressure-treated 2x4s, creating a much deeper step that felt more in proportion with the entry. To anchor it, we secured the frame directly to the existing concrete walkway using tap con screws. Once the framing was solid, we added a layer of pressure-treated 3/4” plywood for structure and topped it with 1/2” cement board to prep for brick.


Step 3: Bricking the Step
For the brick, we used Old Mill Thin Brick—they have a great worn-in look that blended beautifully with our home’s exterior (I picked the Castle Gate variety). We attached the bricks to the cement board using their recommended modified mortar, then grouted everything the next day. The final result looks original to the house and gives the whole entry more character.


Step 4: Color Decisions… and a Change of Heart
I had painted the front door Ravishing Coral before the brick step but now I wasn’t sure if I loved them together. I thought maybe it just needed a bigger statement, so I tried painting the sidelights coral as well. I wanted to love it. I really did. But… it just didn’t work. The color felt overpowering on the sidelights and somehow made the entryway feel short and squatty? It’s a no from me, dog.


So I did what I always do when I’m second-guessing paint colors—
I grabbed a bunch of peel-and-stick paint samples from Samplize.
I ordered 10 teals from Sherwin-Williams, Benjamin Moore, and Farrow & Ball in one quick checkout, and they arrived the next day. Since they’re real paint, not printed paper, I could move them around on the door and see how they looked in the morning sun vs the evening shade. And could even see how it would look in contrast to my siding color as well! If you’re ever unsure - this is totally the way to go!


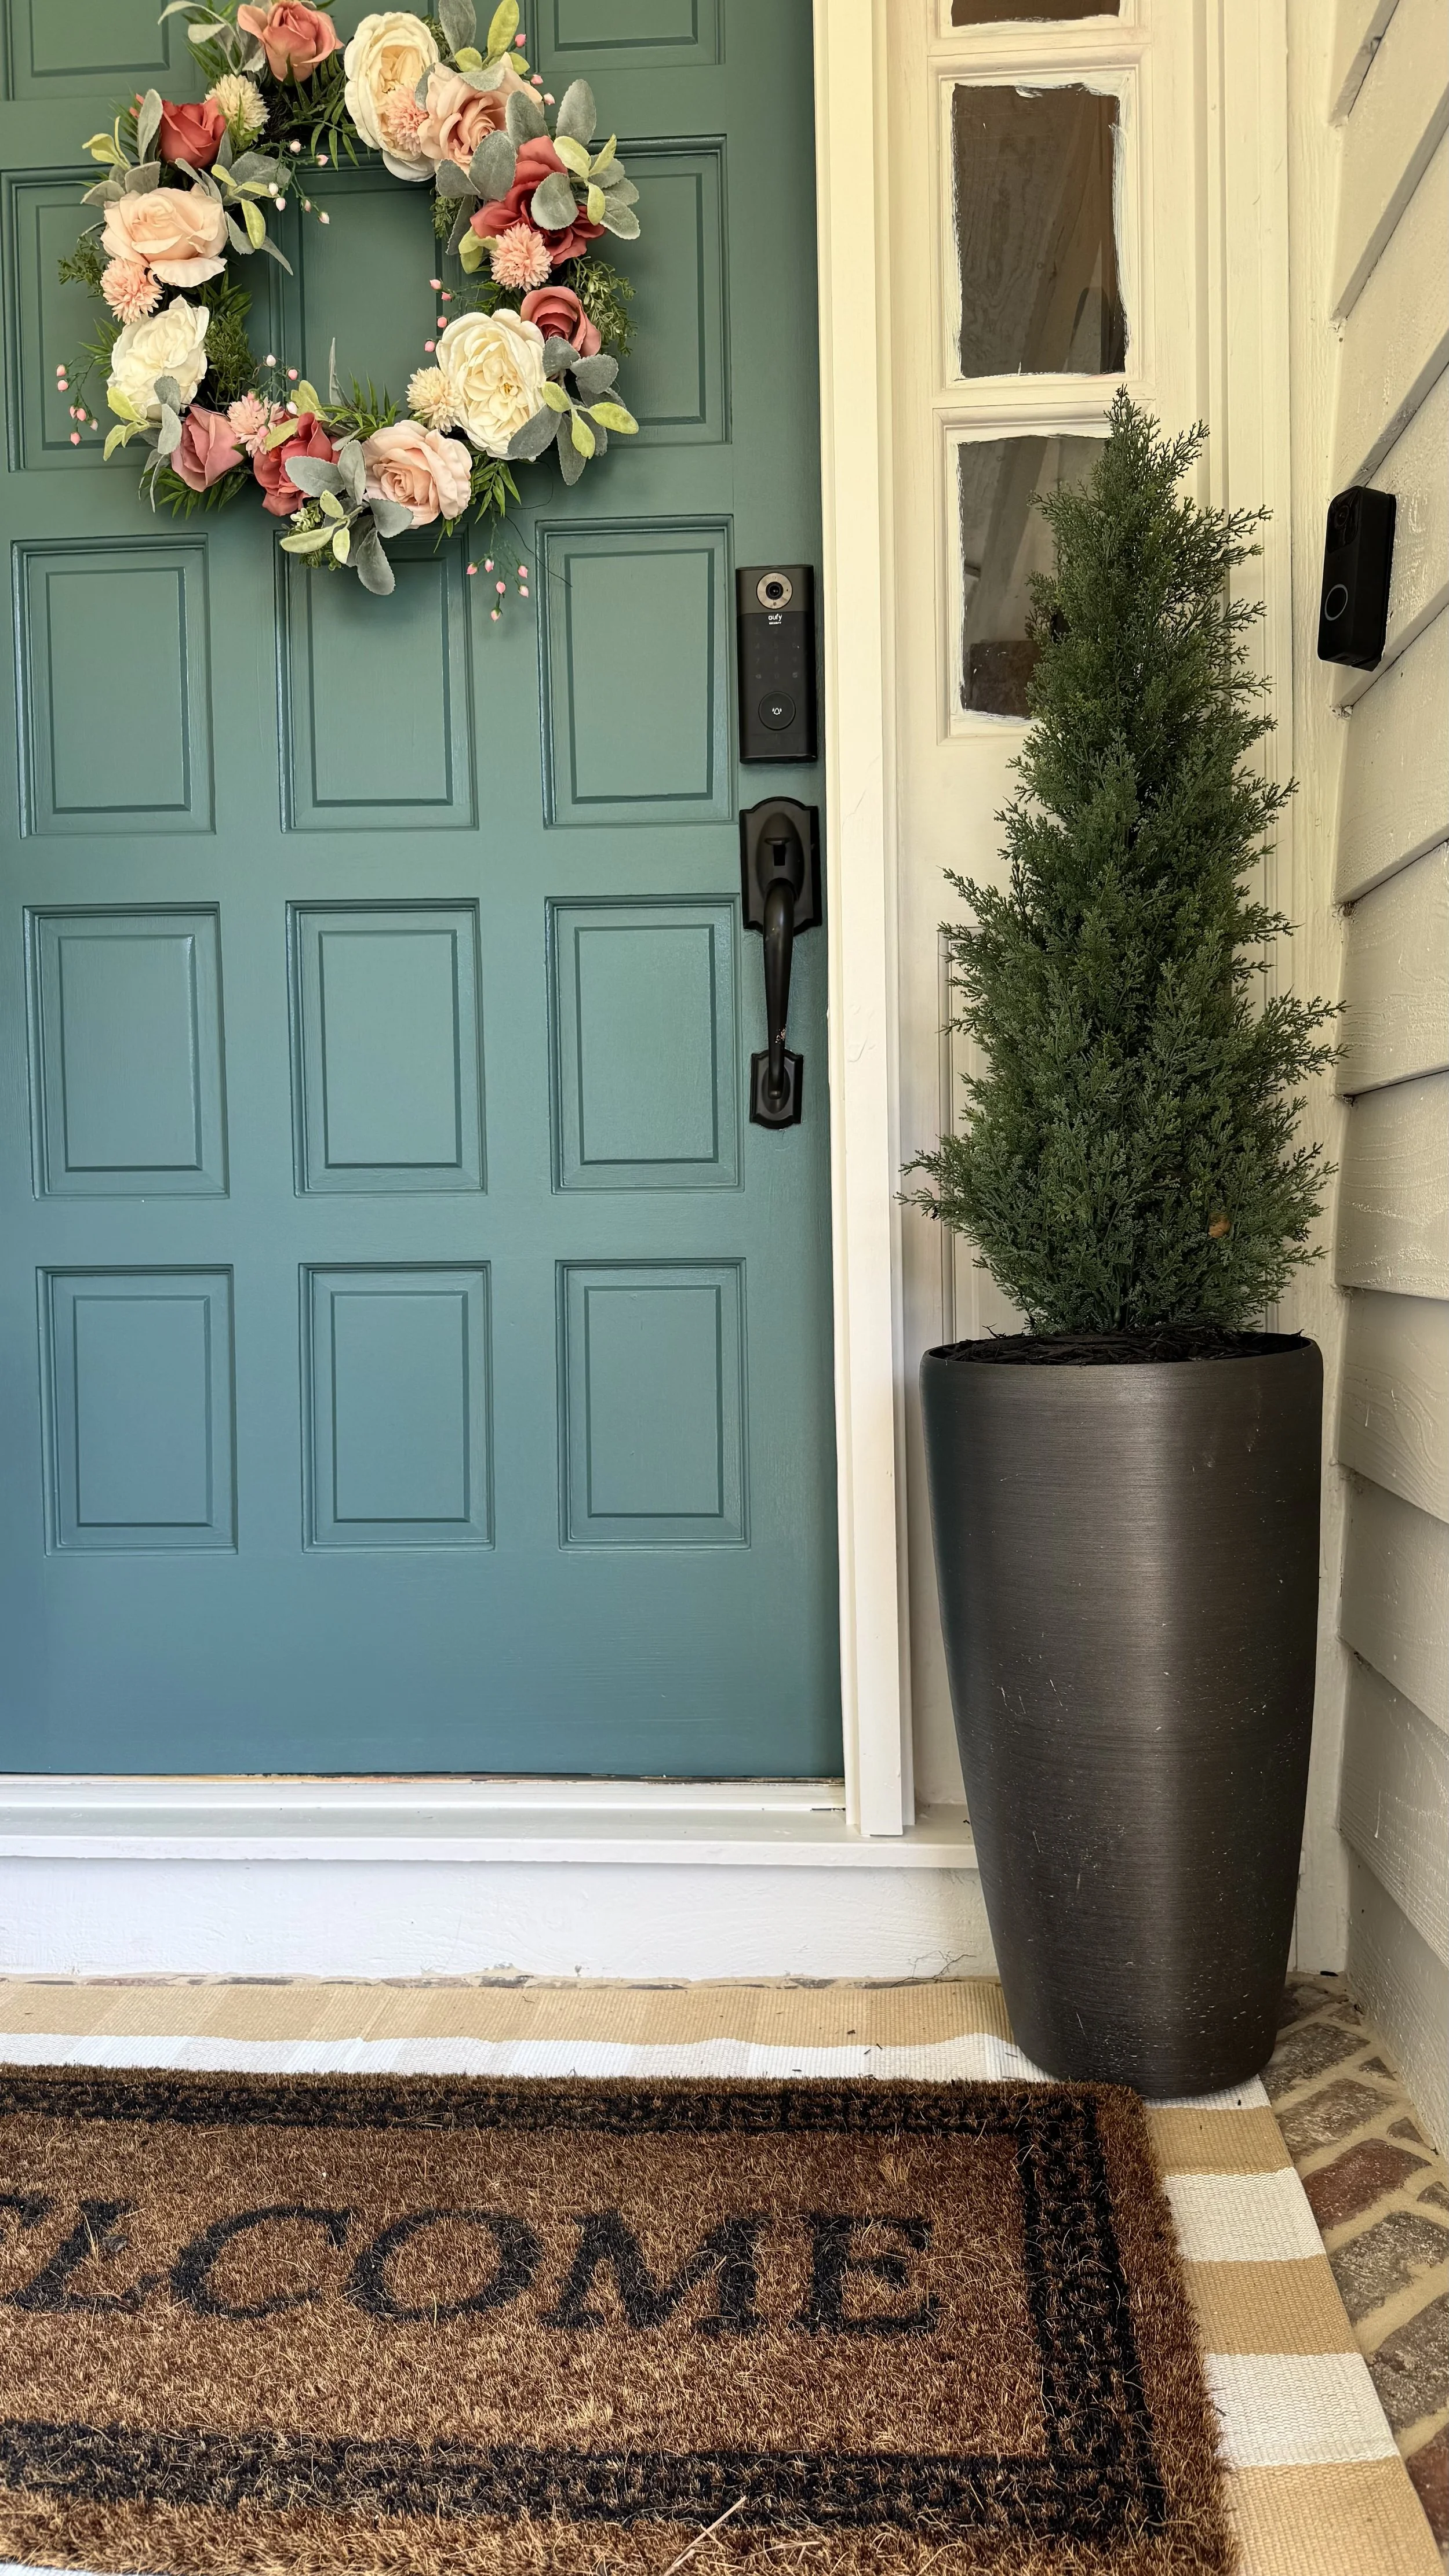
I landed on Caribbean Teal from Benjamin Moore and instantly knew it was the right choice.
Step 5: Painting + Touch-Ups
I painted the front door in Caribbean Teal and loved it. But when I stepped back… I realized the sidelights looked so much better painted cream to match the rest of the house (again, Shoji White by Sherwin-Williams).
We touched up the surrounding trim with fresh paint, added caulk around the edges to clean everything up, and called it done.


Step 6: Decorating the Porch
The finishing touch was all about making it feel welcoming.
I added a new doormat and these brown planters from Walmart and filled them with live ferns for a touch of green on each side of the door. That little bit of life and softness really pulls everything together. (I tried them right beside the door but there wasn’t quite enough room. But pulling them forward and off the front step still showed the softness but gave us enough room!)
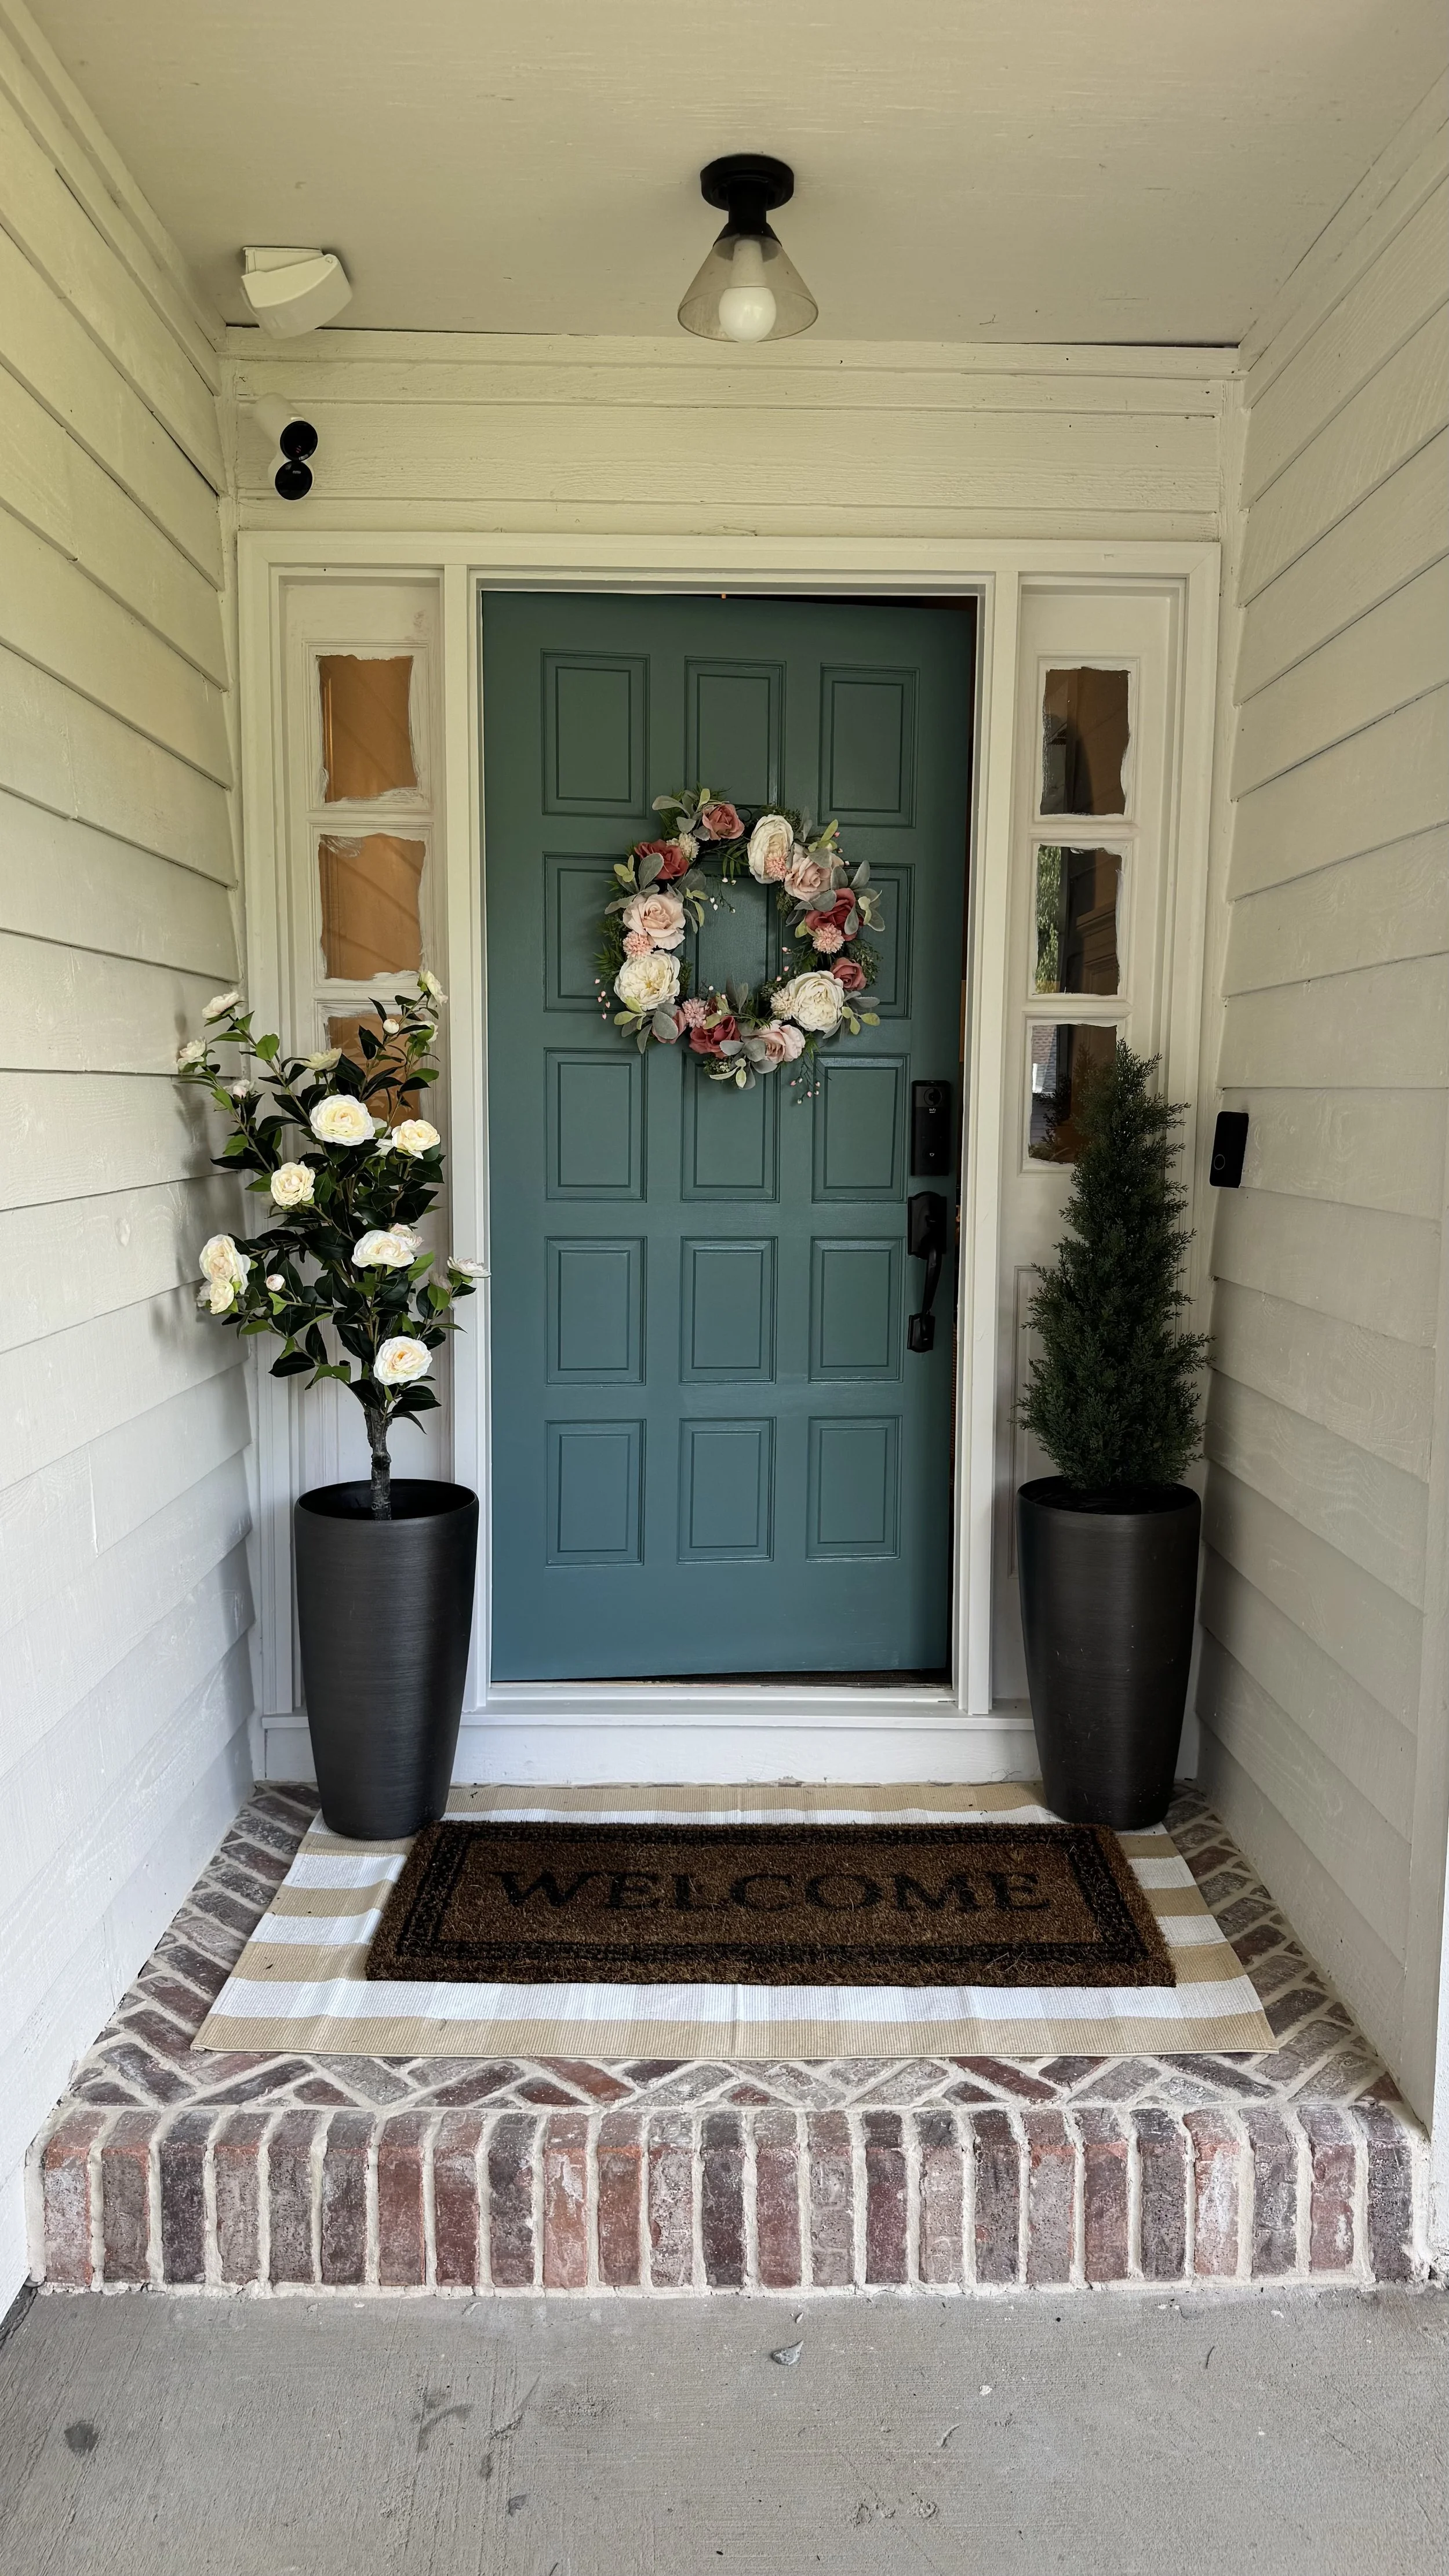

The Final Look

Our exterior has come a long way in 4 years but this latest project has been my favorite touch! What started as a sagging, too-small step and an outdated paint combo is now a fresh, welcoming entry that actually feels like us. We didn’t need to tear down walls or spend thousands—we just made smart upgrades one step at a time.
If you’re stuck choosing a paint color for your front door (or any room), I highly recommend checking out Samplize—their peel-and-stick samples are such a game-changer. And if you’re stuck on visualizing new counter tops in your kitchen, check out their NEW counter top stickers HERE - what a genius way to visualize all types of counter tops in your own kitchen with your current lighting and paint colors. They seriously think of everything!
Got questions about the step build, paint, or brick? Drop them in the comments—I’m always happy to help!